Apache Airflow® is an open-source platform for developing, scheduling, and monitoring batch-oriented workflows. Airflow’s extensible Python framework enables you to build workflows connecting with virtually any technology. A web-based UI helps you visualize, manage, and debug your workflows.
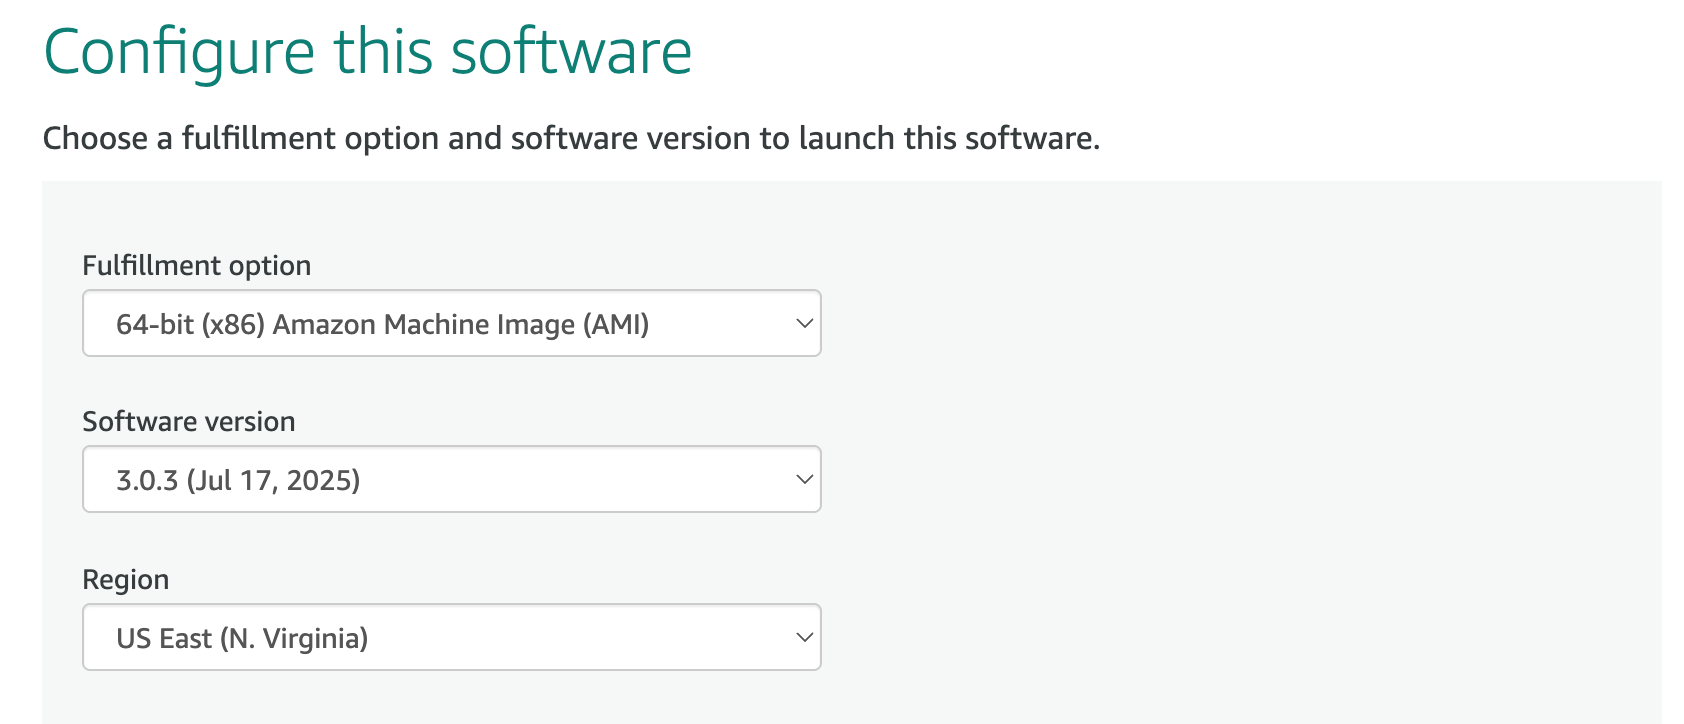
This would be ideal for data engineers and data scientists getting familiar with enterprise orchestration concepts and experimenting Apache Airflow in development environments using an EC2 instance. This image includes all up-to-date modules and prerequisites of Apache Airflow v3.x and v2.x releases
More comprehensive Apache Air Flow deployment guidance and alternative do it yourself deployment options (e.g. Helm, Docker) can be found under the open source project documentation; https://airflow.apache.org/docs/.
More information regarding the Apache AirFlow can be found at https://airflow.apache.org


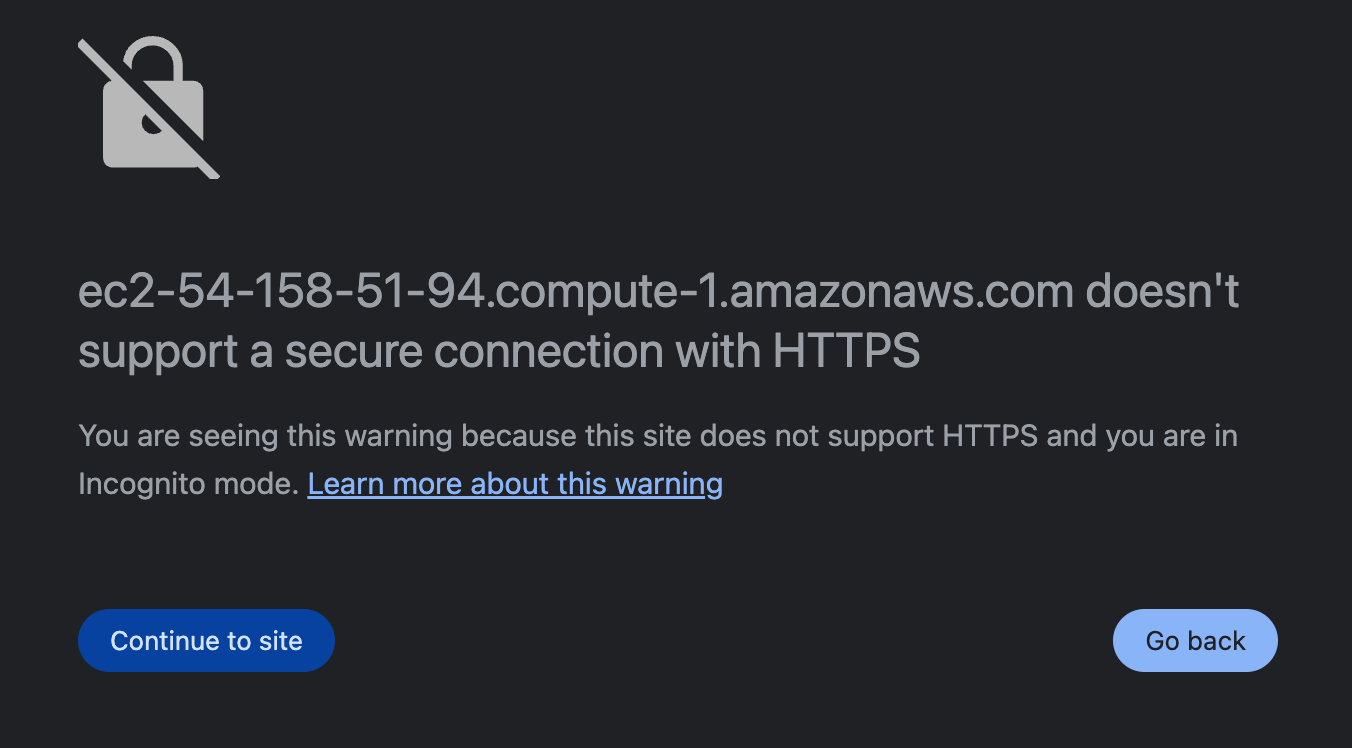
After the deployment, to access the AirFlow interface use a browser and point to http://public_dns_name:8080 or https://public_dns_name:8080
If you receive any message regarding the non-secure connection prior configuring a custom SSL key, please ignore it and continue to the site;
Depending on the version deployed you should see one of the login prompts given below;
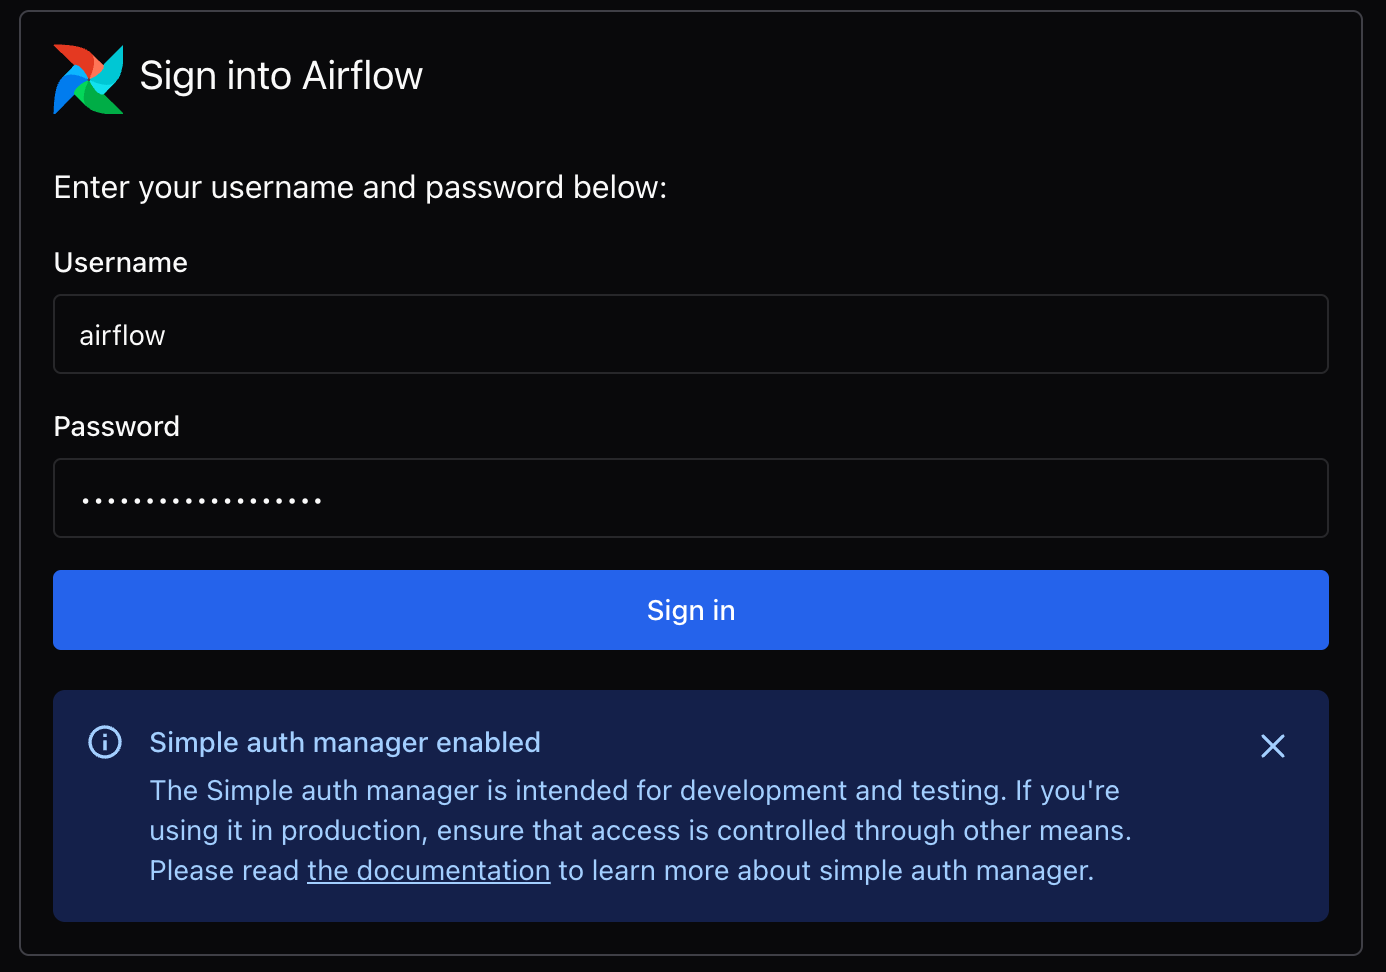
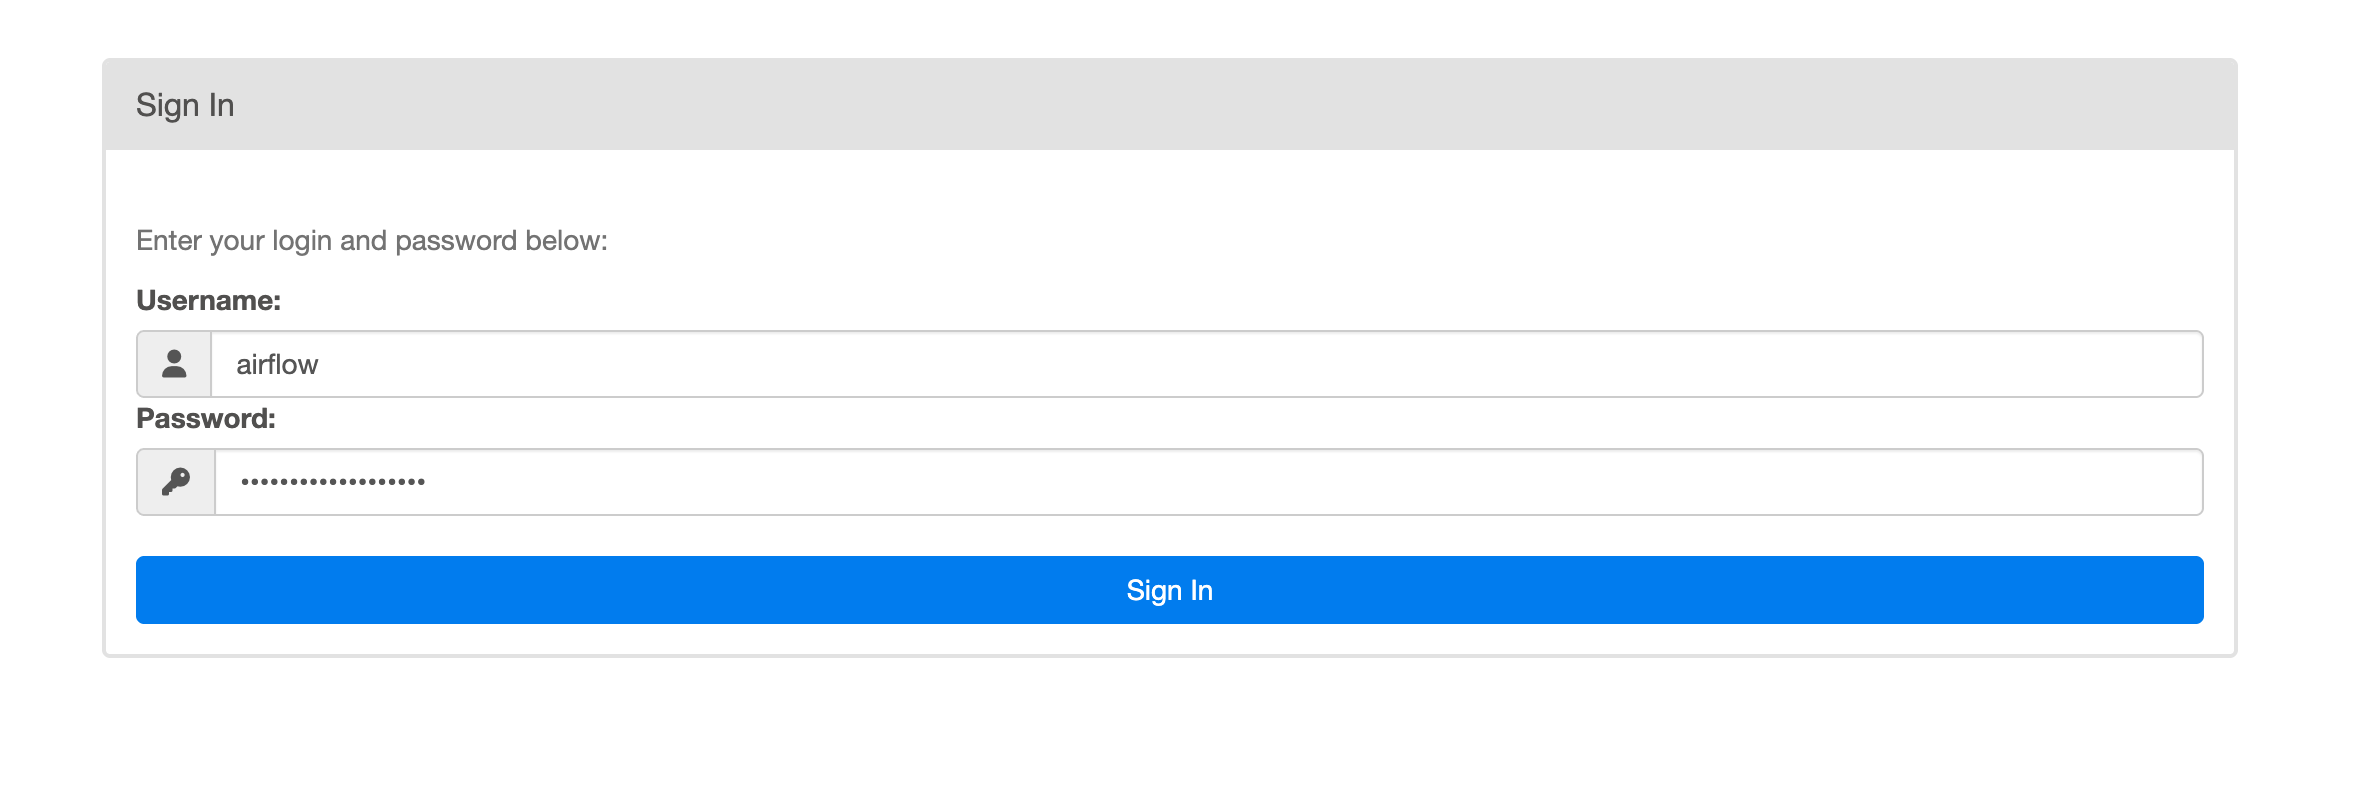
Default administrator username is "airflow", and the default password is your ec2 instance id. Please allow few minutes before trying to log-in for the first time after your provisioning, so that the default user can be created. Please don't forget to update the default password after the setup, and/or change the default authentication method. Please refer to the documentation link provided in the login prompt to modify your password or set up alternate authentication method.
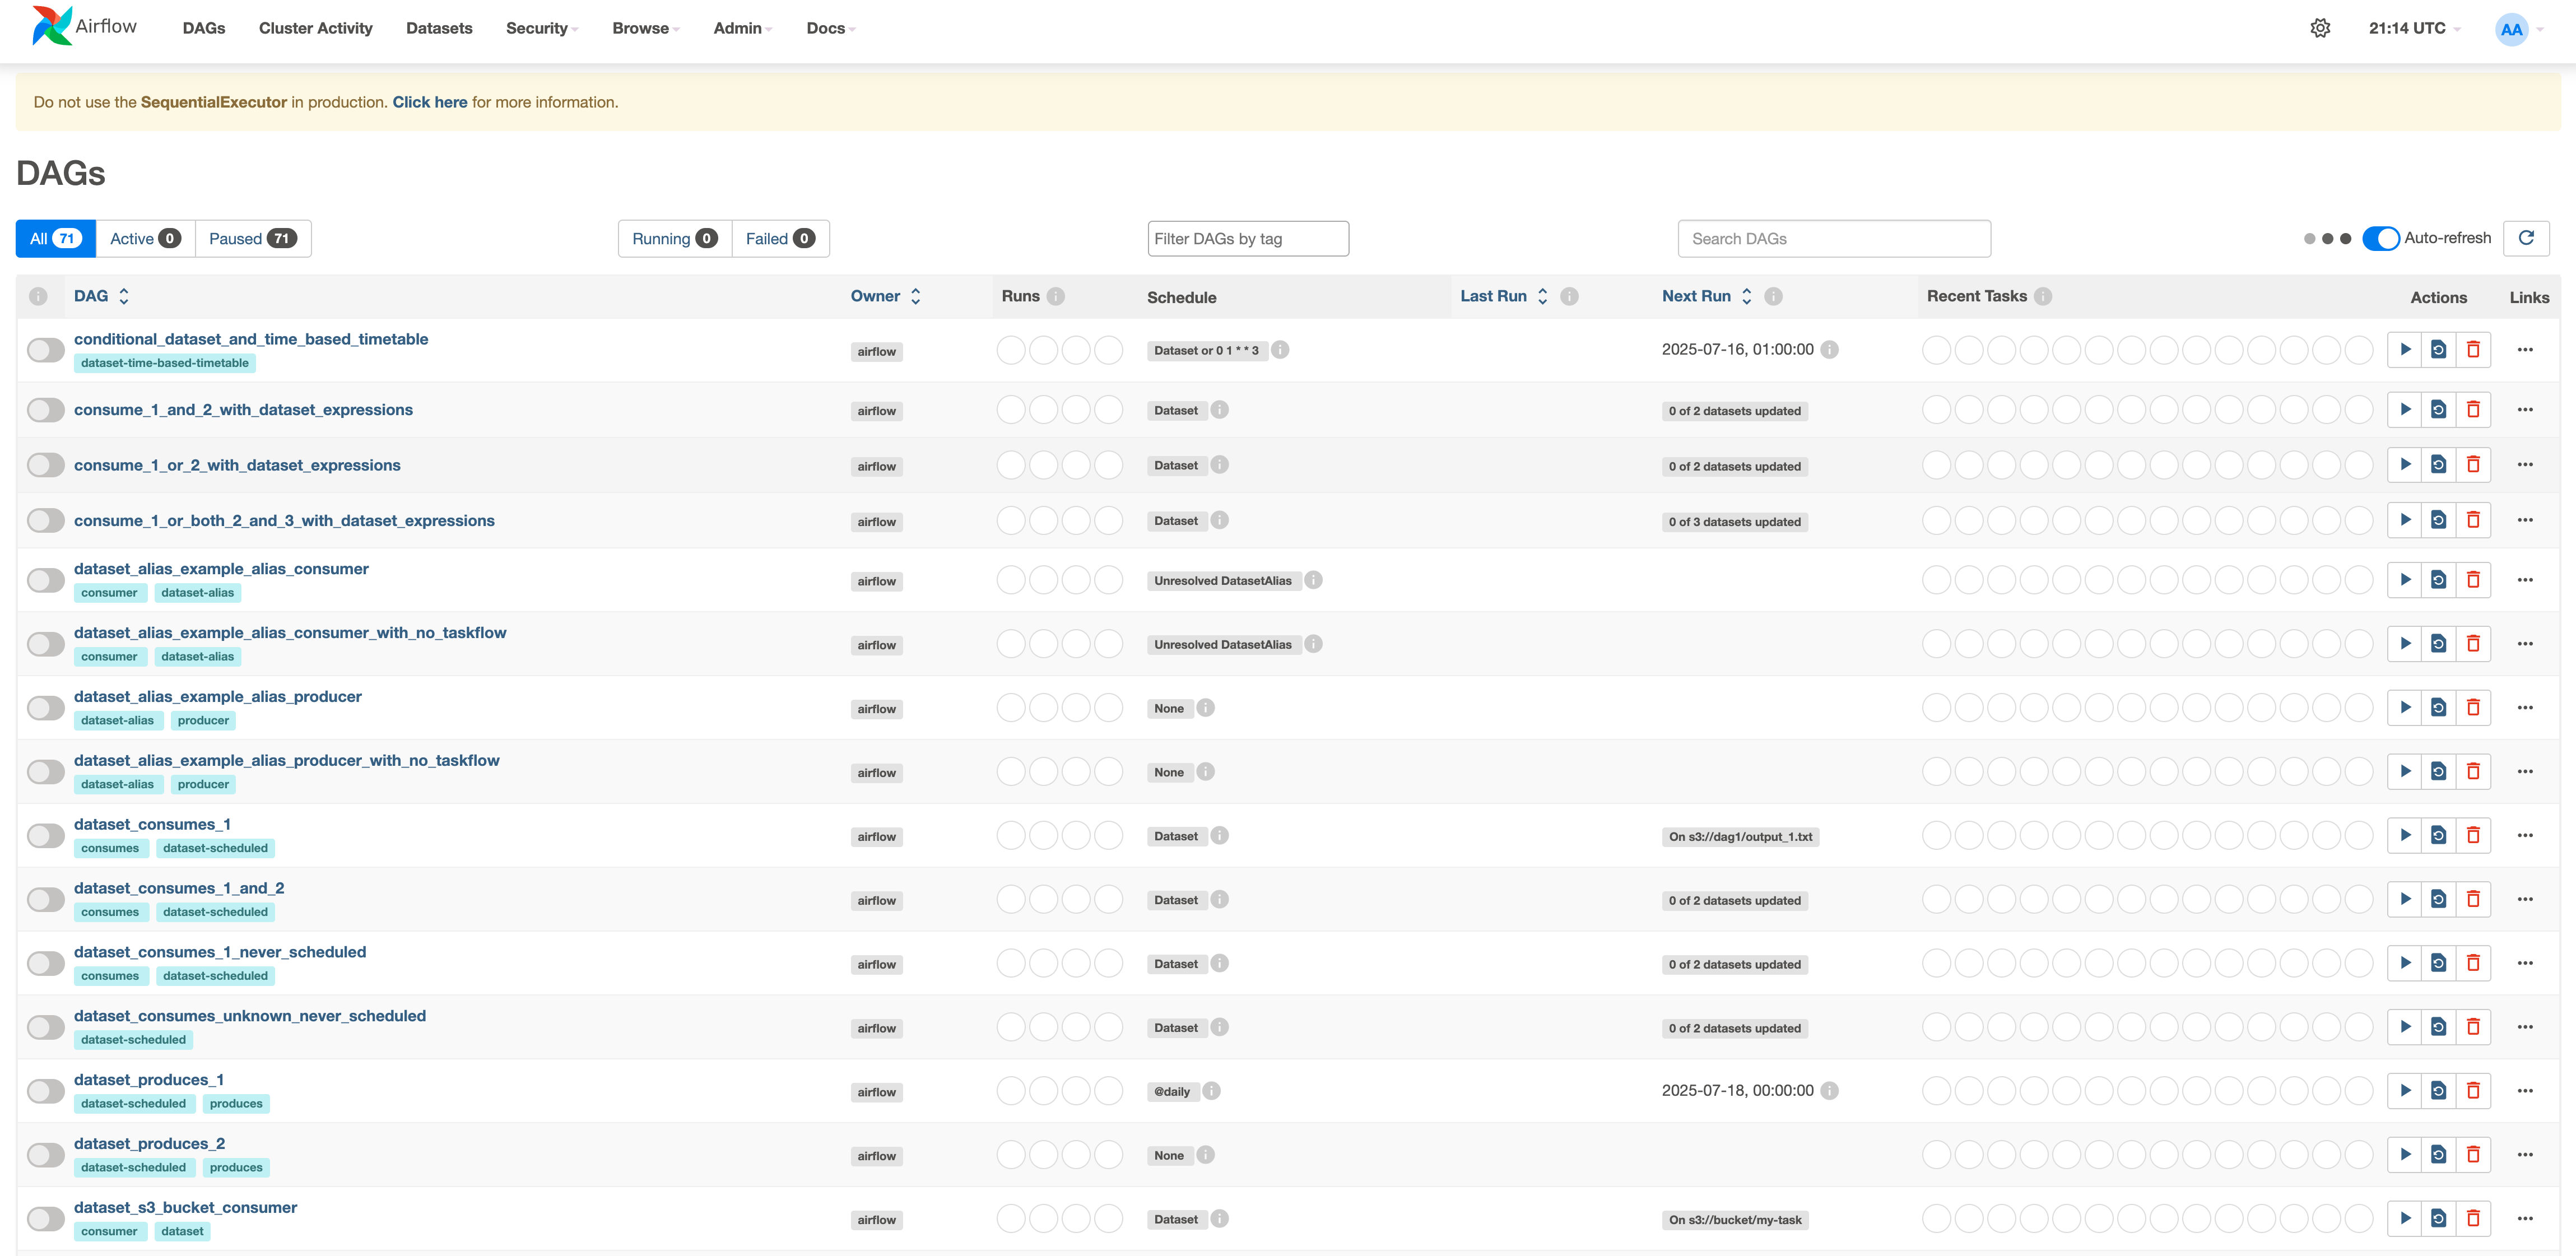
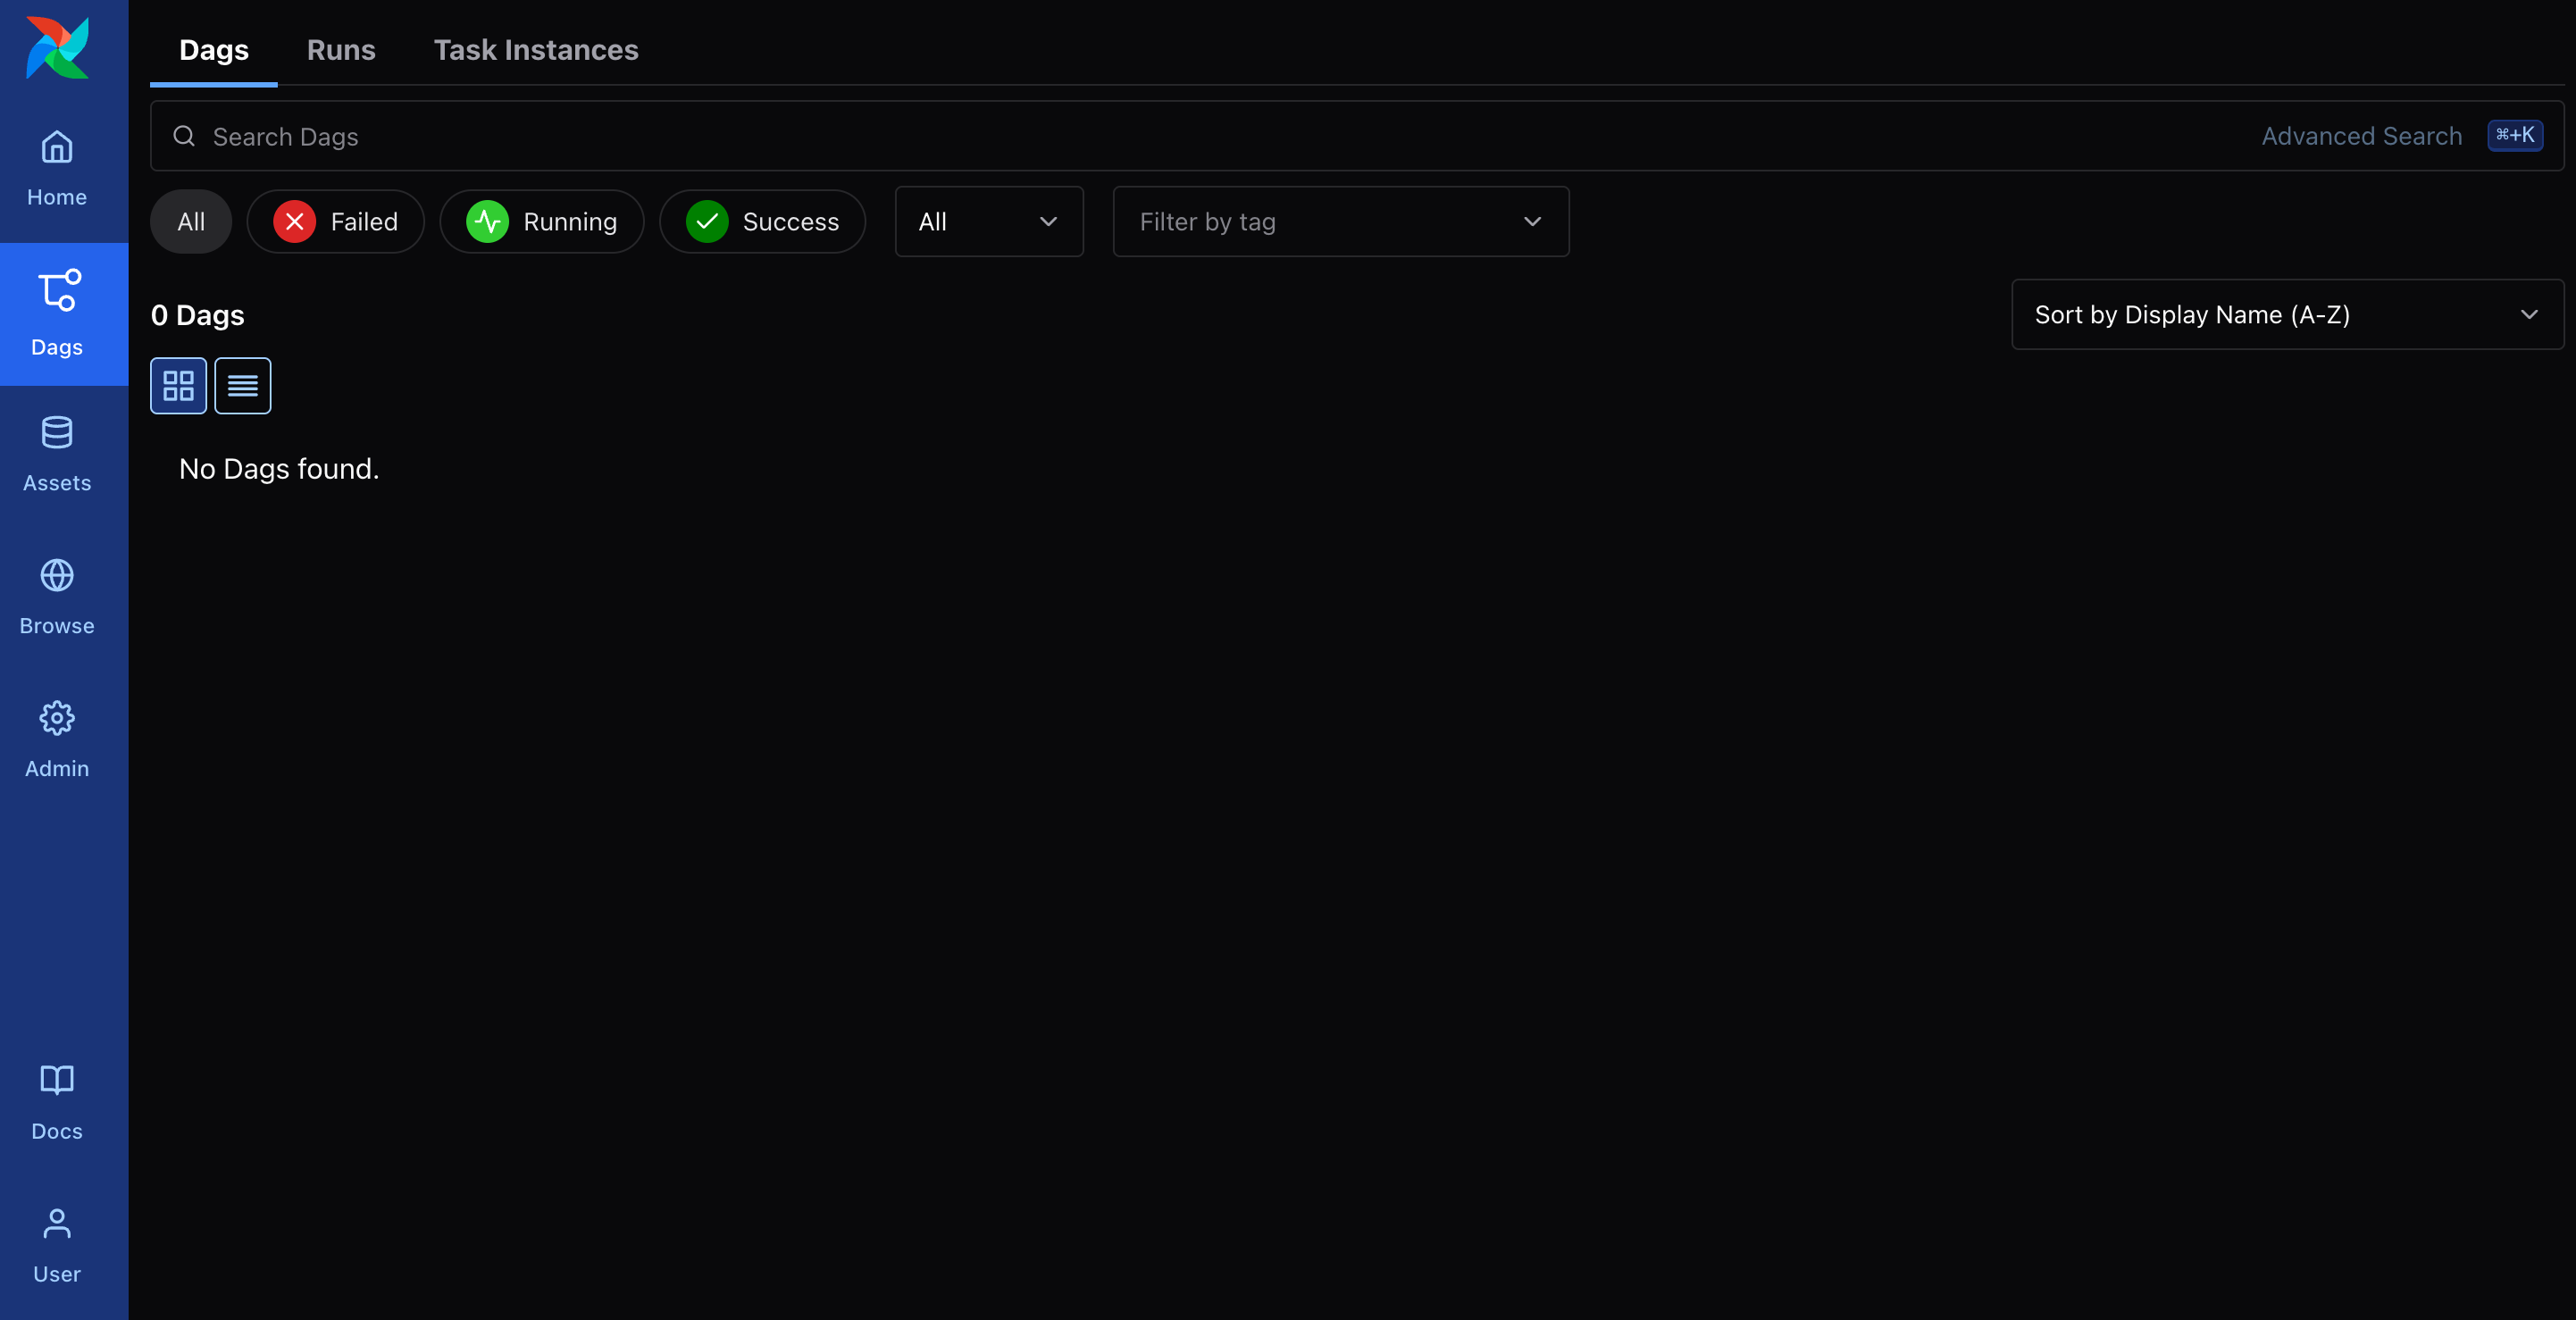
After login you can see the sample dags and run operations as usual;
If you would like to upload new Dags, please SSH/SFTP to the ec2 instance with the key pair you associated and user name "ec2-user". You should upload them to the /airflow/dags folder. Typically, dag file names should include "airflow" and "dags" keywords, and they should python file suffix "py".
To connect to the operating system, use SSH and the username ec2-user.
AirFlow configuration files are stored under the /airflow directory. For instance, to modify the Apache AirFlow web server settings, you may update the [webserver] section of the configuration file /airflow/airflow.cfg
More configuration guidance can be found at Apache Airflow documentation.
After the configuration updates, in version 3.x, you may restart the relevant services via;
				      sudo /bin/systemctl start airflow-webserver

                                      sudo /bin/systemctl start airflow-scheduler

				      sudo /bin/systemctl start airflow-processor

				      sudo /bin/systemctl start airflow-triggerer
				      sudo /bin/systemctl start airflow-webserver

				      sudo /bin/systemctl start airflow-scheduler
sudo /bin/systemctl disable airflow-defaultpass

sudo /bin/systemctl stop airflow-defaultpass
Please use Amazon RDS based repository configuration for your Airflow deployment to ensure smooth migrations later on, and please make sure you apply the same configuration options when you migrate. AirFlow configuration files are kept under the /airflow directory